Information is always moving during an event and the BP MS150 is no exception. The following guidelines outline steps everyone needs to take to help speed the information exchange and indicate when someone has completed using the radio channel. The guidelines are as follows:
- Time Out Timers…YES!
- Pause 2 Before Talking… ALWAYS
- Order of the Exchange
- Station Identification
- Three Levels of Traffic
- Listen, Think THEN Talk
- Monitoring your Assigned Channel
- How Big Paper Clips Stop Stuck Microphones
1 – Time Out Timers…YES!
Every year without fail there are at least one or more instances of a stuck microphone on one of the radio nets. This grinds progress to a haul on the affected net while time gets wasted finding the radio with the issue.
You MUST turn your Time Out Timers ON!
Simple steps by all ham radio operators working the event will be taken to prevent this issue. All radios must have a time out timer and have it activated. This includes YOUR radio. If you do not already know how to do this on your equipment take a moment BEFORE the event to figure it out. Every radio has a time out feature. This MUST happen on your equipment and your follow volunteers equipment.
Setting your equipment’s time out timer to 1 minute or less helps with:
- Stuck Microphones
- Radio Problems
- Prevents your issue / error from tying up the Net
| Set All Time Out Timers On Your Equipment to 1 Min |
The simple step of setting your time out timer prevents problems and embarrassments during the event.
2 – Pause 2 Before Talking… ALWAYS
Most of the ham radio repeaters on the ride get linked together. Because of this it takes a moment to pull up the links when you first key your radio. You need to make sure that you PAUSE 2 SECONDS between keying your microphone and beginning to talk. If you do not pause 2 seconds before speaking first part of your transmission will be lost.
| GOOD = Keying Your Radio and Waiting 2 SECONDS Before Talking |
| “BreakPoint 5 to NetControl we have an Emergency” |
| BAD = Keying Your Radio and Talking Right Away |
| “Net Control we have an Emergency” |
You will see that in the second example that Net Control does not hear the full message and does not know the location of the emergency. If you do not pause 2 seconds the receiving station does not hear the entire message.
3 – Order of the Exchange
Any time a station needs to call another station and share information with each other is called an ‘exchange’. There is an order to this exchange to best move the information and indicate when the radio channel is clear. This order will be used on controlled nets (a net control present) and un-controlled nets (like scooter net).
Controlled Nets (Net Control Station Present)
- Verify the radio channel / frequency is CLEAR (don’t just start talking)
- Start with Tactical Call calling Net Control
- You – “NET CONTROL… COM 2”
- Net Control Acknowledges your Tactical Call and gives Permission to Call Other Stations
- Net – “Go Ahead COM 2”
- You – “Need To Make A Call”
- Net – “Make Your Call”
- Call the Station you want to talk to using THEIR Tactical Call and YOUR Tactical Call
- You – “COM 2 to SAG 5”
- Sag – “SAG 5 got ahead”
- Make the Exchange with the Station you Called
- You – “SAG 5 could you please check your van for a cell phone, a rider at the Break Point you just left thinks they left their phone in your vehicle, over”
- Sag – “Copy COM 2 we will check our vehicle at the next stop and get back to you”
- End the Exchange using both your Tactical Call followed by your FCC Radio Call Sign
- You – “Received, COM2 N0XFD Clear” (IMPORTANT!)
- Sag – “SAG 5 KE5FGA Clear” (IMPORTANT!)
Un-Controlled Nets (Simplex / Scooter Net)
- Verify the radio channel / frequency is CLEAR (don’t just start talking)
- Call the Station you want to talk to using THEIR Tactical Call and YOUR Tactical Call
- You – “COM 2 to SAG 1”
- Sag – “SAG1 got ahead”
- Make the Exchange with the Station you Called
- You – “SAG 1 when you reach Break Point 3 could you please stop at the SAG Stop the team there has some questions for you, over”
- Sag – “Copy COM 2 we will be sure to check in with them, over”
- Each station ends the Exchange using their Tactical Call followed by FCC Radio Call Sign
4 – Station Identification
Amateur Radio Operator are licensed by the Federal Communications Commission (FCC) to operate their station. Part 97 of the Code of Federal Regulations (Title 47, Volume 5) outlines the rules and regulations under which Amateur Radio Stations must operate. All Amateur Radio Stations MUST identify their station at the end of their changes and every 10 minutes if the exchange is longer when operating on Amateur Radio Frequencies.
Working an event does NOT remove the FCC station identification requirements.
Every station working the BP MS150 has an assigned tactical call sign. Tactical calls are used to initiate communications between stations and more easily identify them. Amateur Radio Stations will still be expected to use their FCC Callsign at the end of all exchanges or every 10 minutes if their exchanges are longer (while on amateur radio frequencies). The use of your FCC Callsign at the end of an exchange satisfies your FCC identification requirement but also is a clear indication that you are completed with your exchange.
Your exchanges should look something like this:
- Start with YOUR Tactical Callsign
- “BOX 8 to Net Control”
- Have your exchange
- End with YOUR Tactical Call and then your FCC Callsign
5 – Three Levels of Traffic
During the BP MS150 radio traffic is classified into three levels of traffic as follows:
- Emergency
- Priority
- Routine
“Emergency”
Messages that involve the immediate risk of loss of life, serious injury, or threats of major property loss.
“Priority”
Messages that do not rise to the level of Emergency, but are important to the event. “The ice truck just turned over” is an emergency message if there is someone injured. It is just a priority message otherwise.
“Routine”
Messages of general information, such as “Break Point X needs more water”.
Prior to initiating your radio communication you should decide what level of traffic it is. Emergency traffic can interrupt lower levels of traffic (i.e. 2 & 3). This is done by a station by transmitting the phrase “Break Break”.
Net Control or the Houston Command Post may, during emergencies, declare a particular net closed to all but Emergency traffic (or in some cases Emergency & Priority). Listen carefully to your net and move lower traffic levels to another net until the special condition has ended and the net is open to all traffic.
Leave Breaks Between Transmissions & Listening
Remember to leave breaks between your transmissions so that your traffic can be interrupted for emergency related communications. We can not emphasize enough how important it is to LISTEN to your Net and know the status of the Net you are assigned to. It is important that you monitor your assigned Net at all times.
6 – Listen, Think THEN Talk
We want to hear clear, concise, and to the point traffic on the radio during the event. Some Amateur Radio operators can be very long winded on the radio. They can take a 5 word sentence and turn it into a 100 word essay. We do not want to hear this during the event. It unnecessarily ties up our radio channels.
What we WANT to hear:
“Break Point 5’s Manager is asking ETA of requested ice delivery, Over”
What we DO NOT want to hear:
“Uh… this is Break Point 4. It is not raining here yet but it looks like it might start soon. Oh look at that bike! um… yeah the Break Point Manager wants to know (muffled ‘what was that’) when does he get more ice? We are getting rather low and it is really hot here”
7 – Monitor Your Assigned Channel
Every communications assignment has a primary Net that must monitored at all times. It is important that you keep your ear to this Net so that other stations can easily contact your assignment. You should not be channel surfing during the event, you will miss a call for you.
How do I know what Net I must monitoring? That information is at:
8 – How Big Paper Clips Stop Stuck Microphones
It sounds funny, but a big paper clip goes a long way to solve some stuck microphone issues. You need to hang your microphone somewhere so you are not tempted to place it in your cup holder. If you place it in your cup holder then the PTT button on the side of the microphone gets pressed and then bad things start to happen.
So grab a large paper clip and do the following:
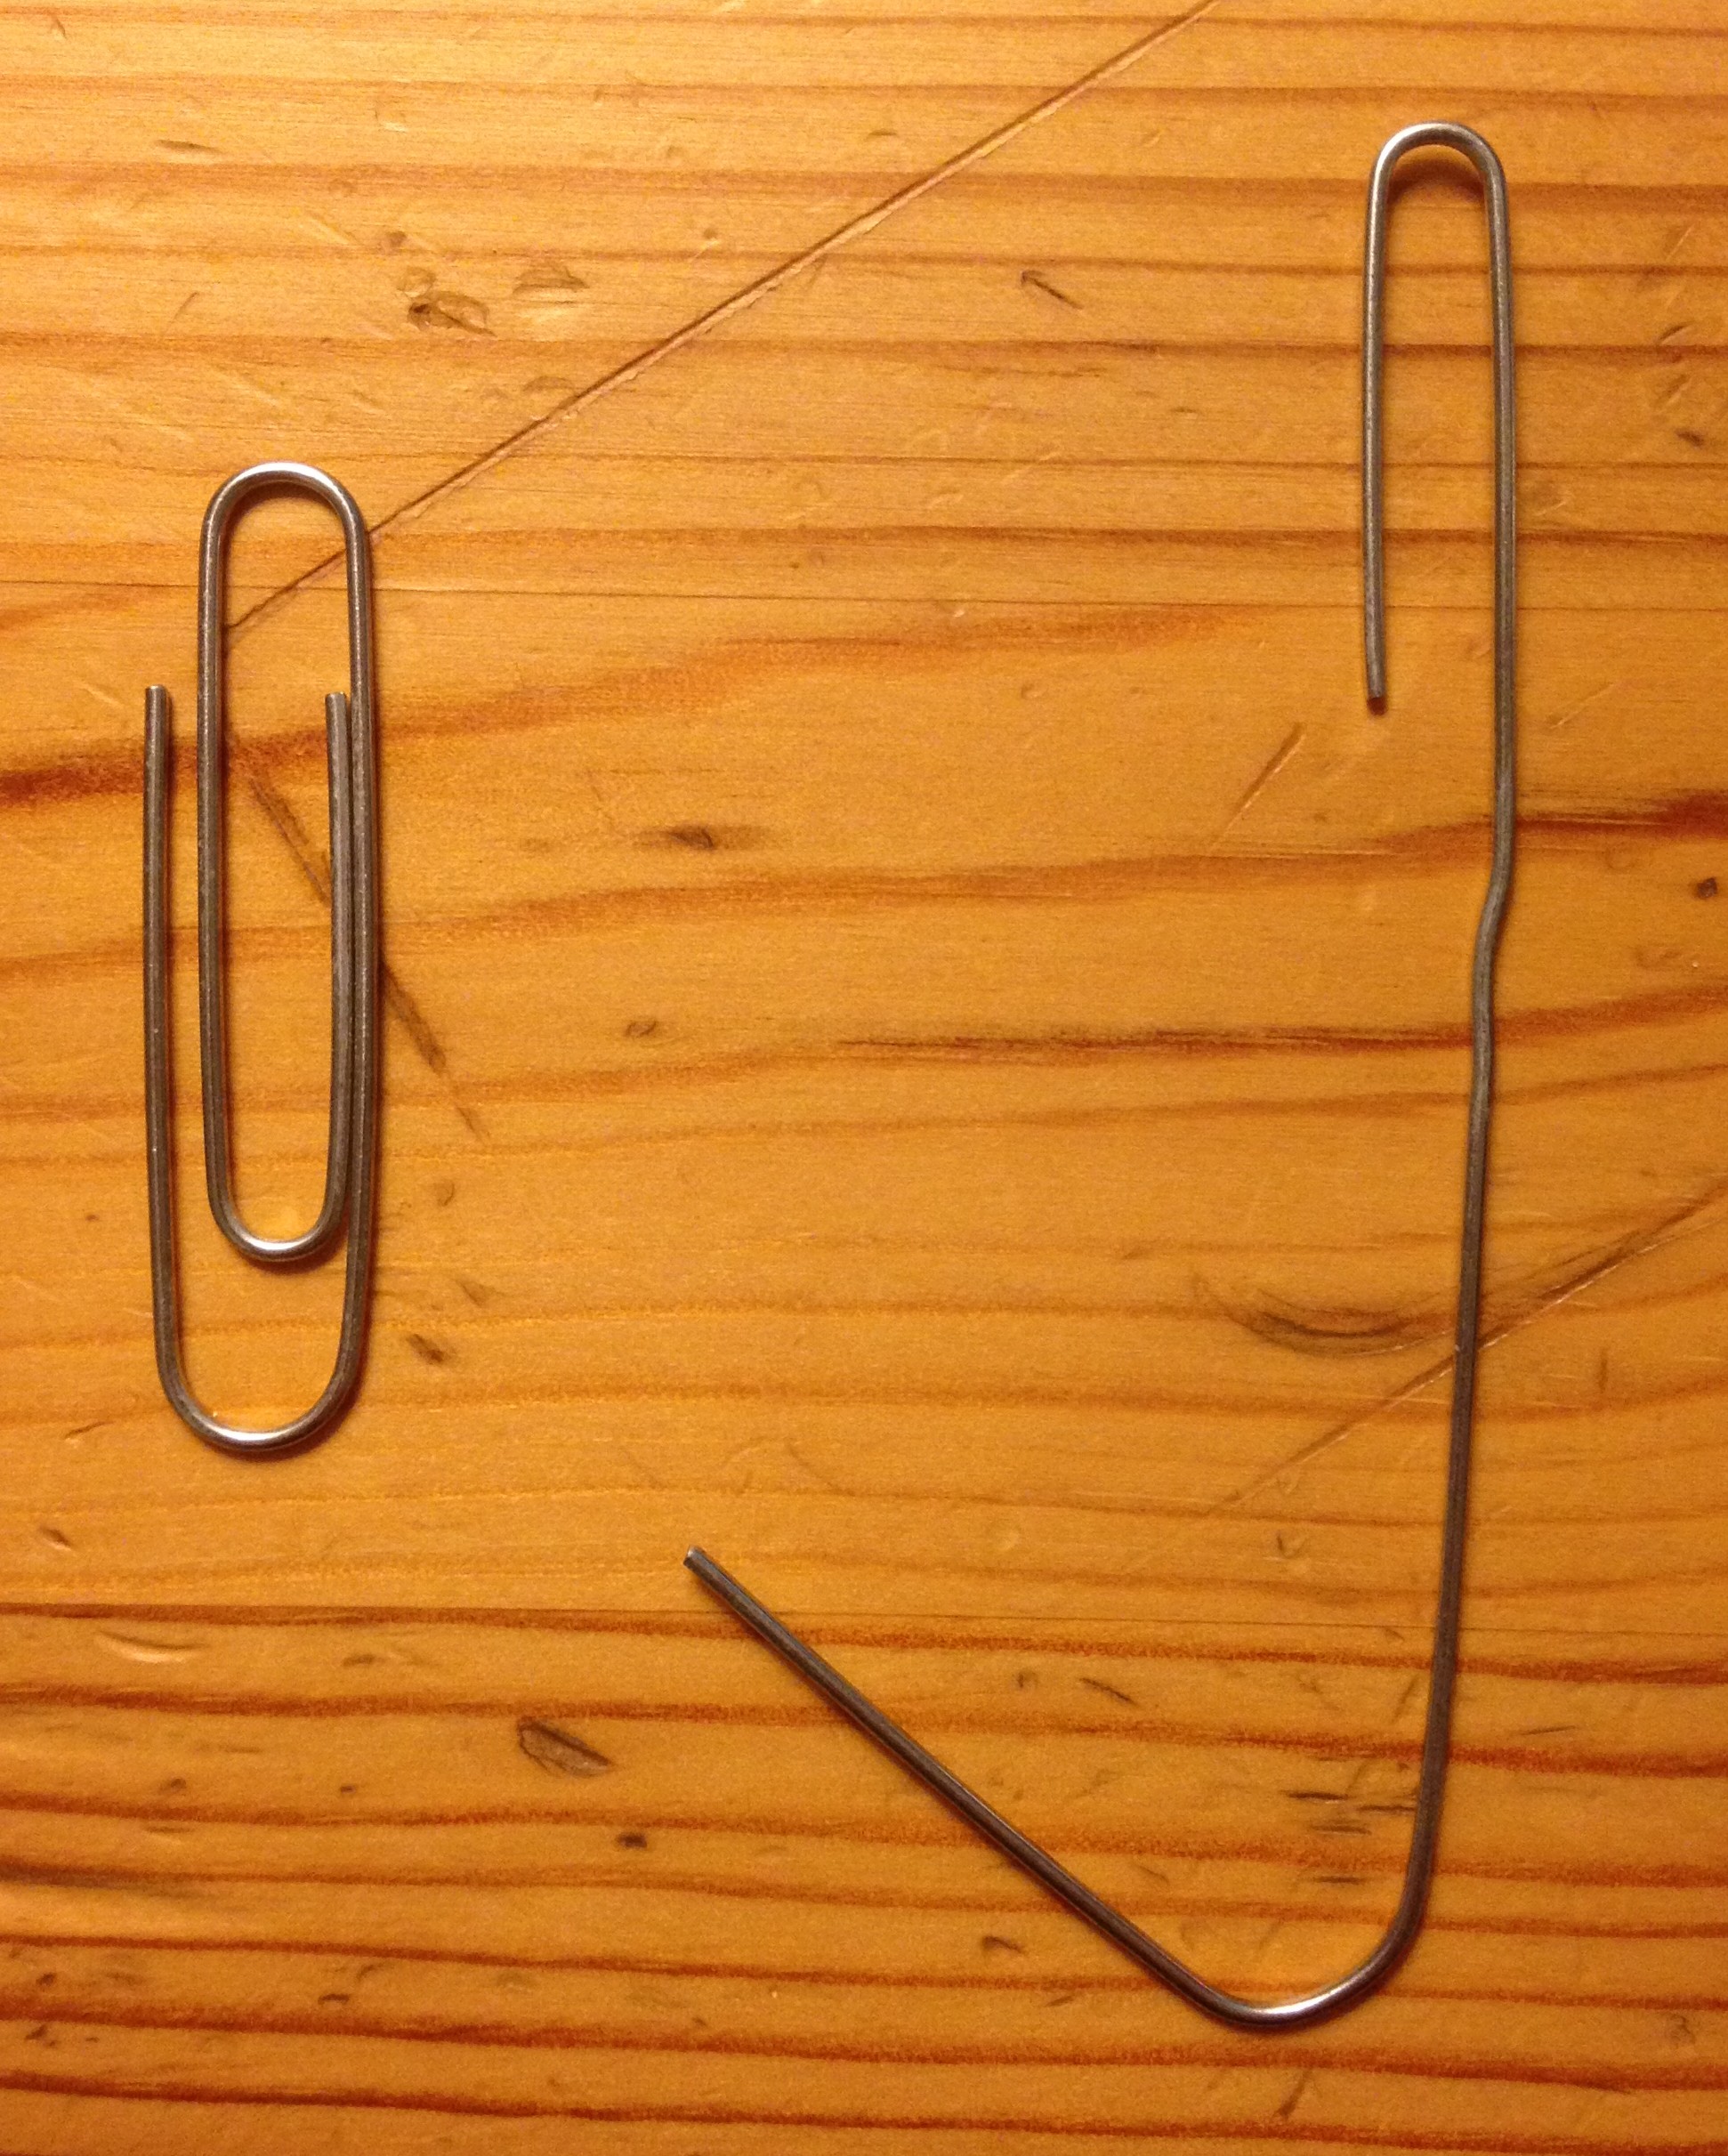
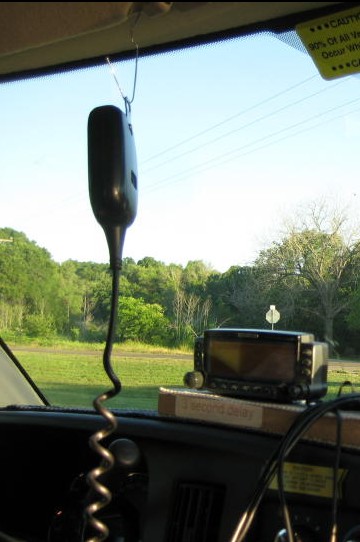
The larger hook is what you hang the microphone on. The smaller hook gets used to hang the paper clip off the sun visor. It keeps the microphone in an easy to use location and it is out of the cup holder!
Additional Resources
There are additional resources that should be reviewed before the event. They include: